
TeePublic Uploader Walkthrough

Introduction to the Uploader
(NOTE: Click here for an overview of the basics of our uploader.)
When you're ready to add a new design, click "Upload Design":
You'll then see our familiar uploader screen.
Highlighted in yellow are the editable options for your upload, which include the title, description, main tag, secondary tags, default colors, and toggle on/off enabling for specific products. You can also auto-center your design vertically and horizontally, use the slider tool to change the size of the design, and quickly select either light or dark colors, or manually select the ones you want. If you have white in your design, be sure to turn off the white apparel color option in the uploader. White ink will not print on a white shirt!
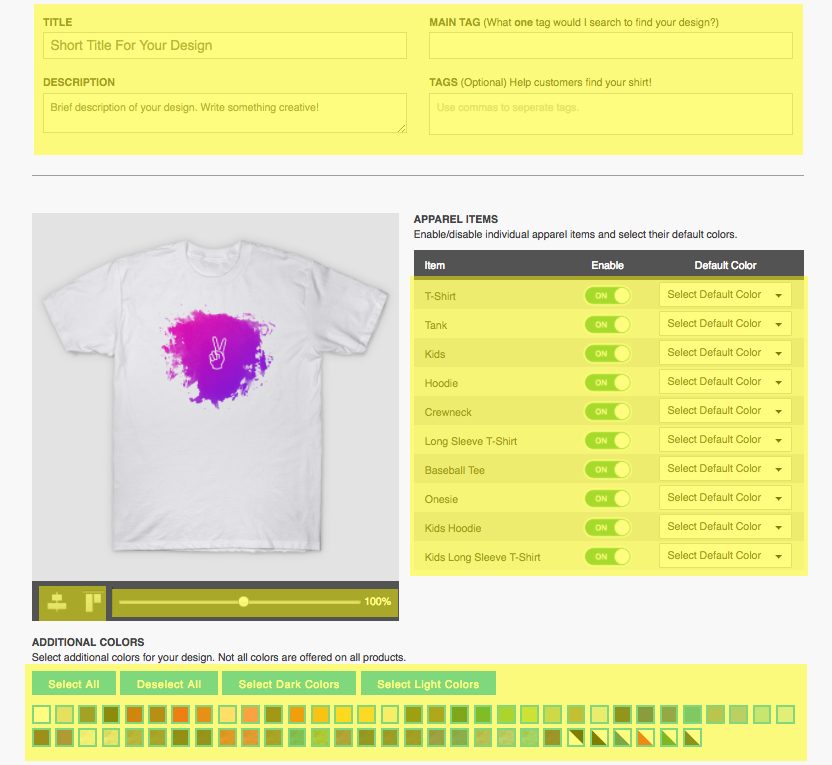
Each product in your shop has its own set of customizable properties. Simply click on the item to edit how your design appears on it, or if you don’t want to offer your design on a certain product, click the on/off toggle switch:

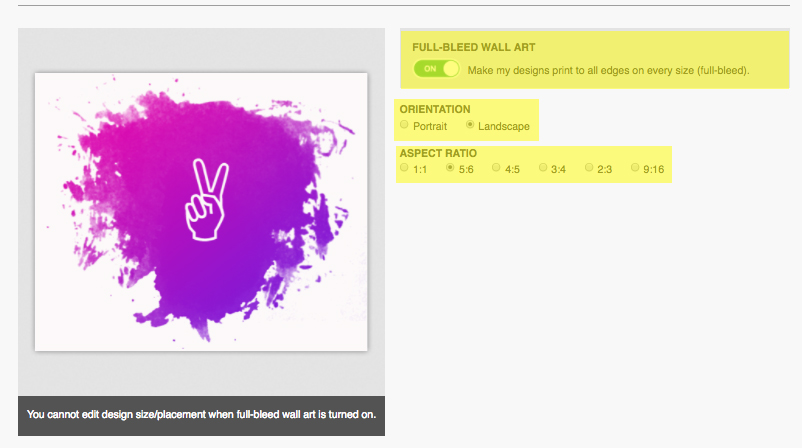
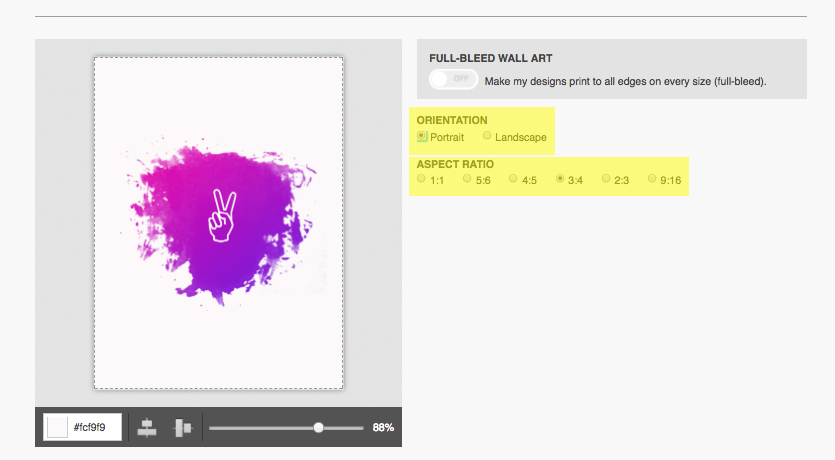
Wall Art
For wall art, you can choose the aspect ratio and the orientation of the design, as well as set your design to print full-bleed (the maximum amount of printable area possible) and auto-center art vertically and horizontally:

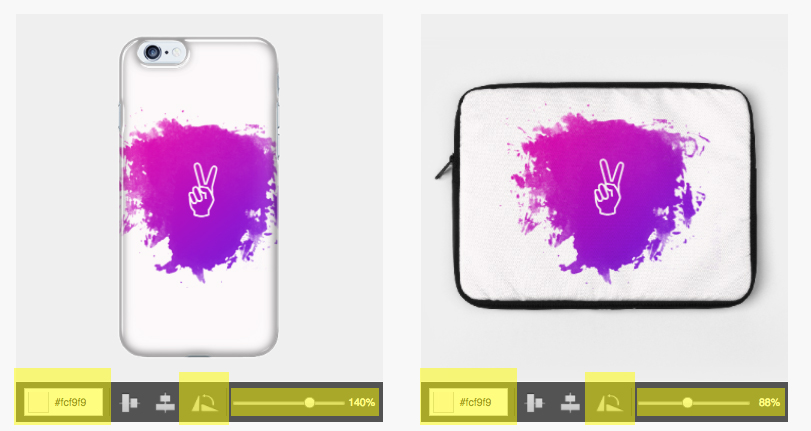
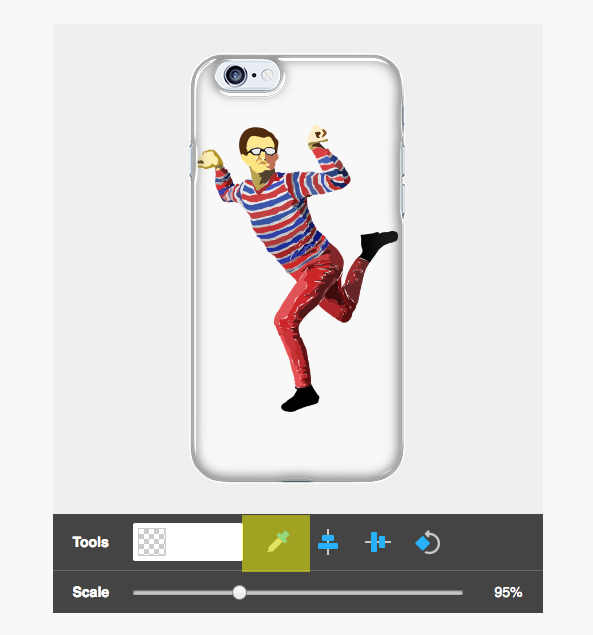
Cases
For phone and laptop cases, you can change the size of your design using the slider tool, auto-center vertically and horizontally, change the background color, and rotate your artwork:

Notebooks
For our notebooks, we offer the option to auto-center art vertically and horizontally, change the background color, and adjust the size of the art using the slider tool:
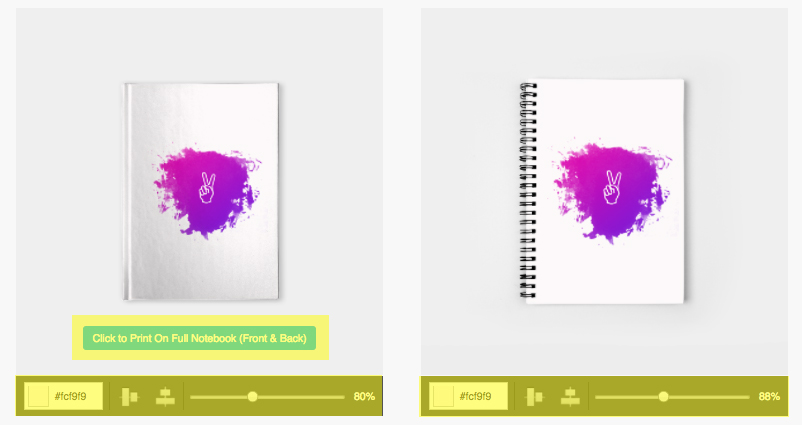
For hardcover notebooks you can also choose to print across the entire front and back of the notebook:

Mugs
For mugs you can auto-center your art vertically and horizontally, choose a custom background color, and resize the art using the slider tool:

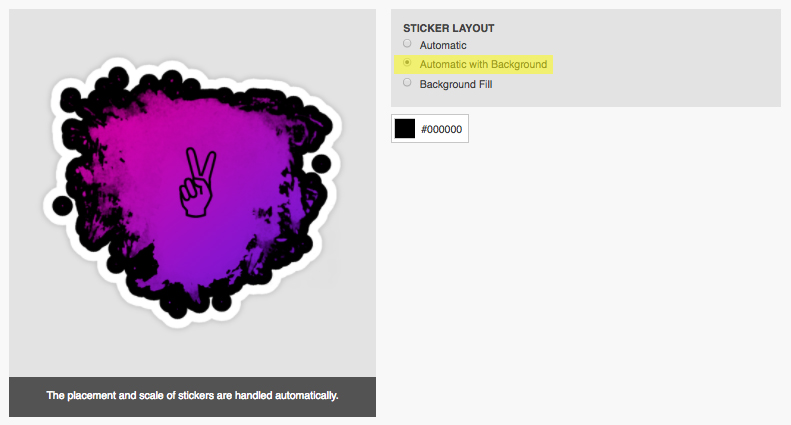
Stickers
For our stickers, you have a bunch of options! Option #1 for sticker layouts is “Automatic,” which places your art on a plain white background in the shape of the design:

Option #2 is “Automatic with Background,” which maintains the shape of the design, with a customizable color background:
Finally, option #3 allows you to put your sticker on a “Background Fill.” This places your art on a solid square background color of your choosing. You can also select edge-to-edge (full-bleed) printing for these kinds of stickers, as well as the orientation and aspect ratio of your choice:

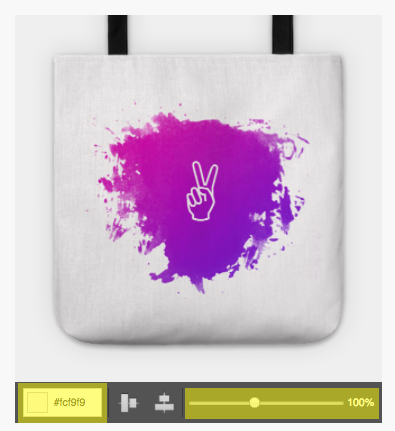
Pillows & Tote Bags
For pillows and tote bags you can choose a custom background color, auto-center your art vertically and horizontally, and resize your art using the slider tool:

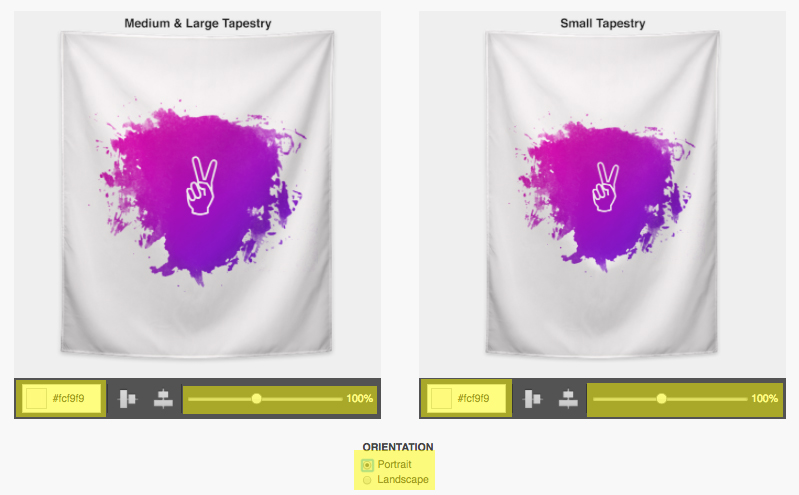
Tapestries
For our tapestries, you can auto-center your design vertically and horizontally, select either landscape or portrait orientation, a custom background color, and can resize your art using the slider tool:

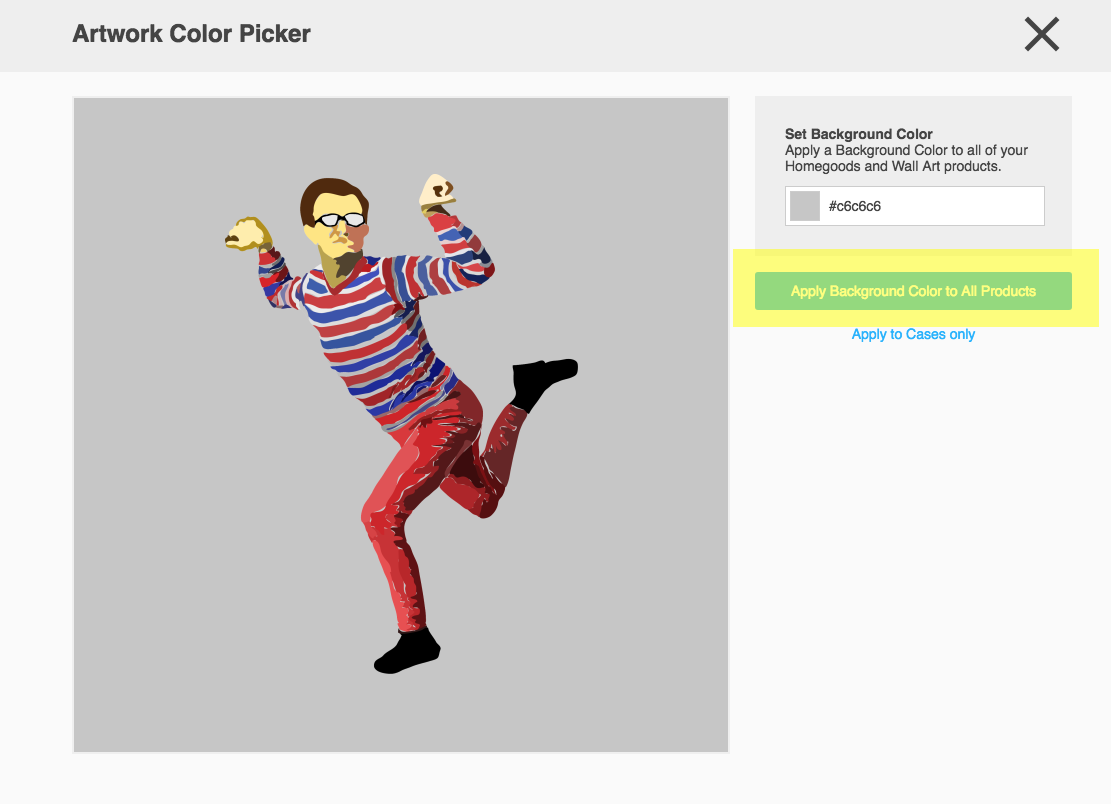
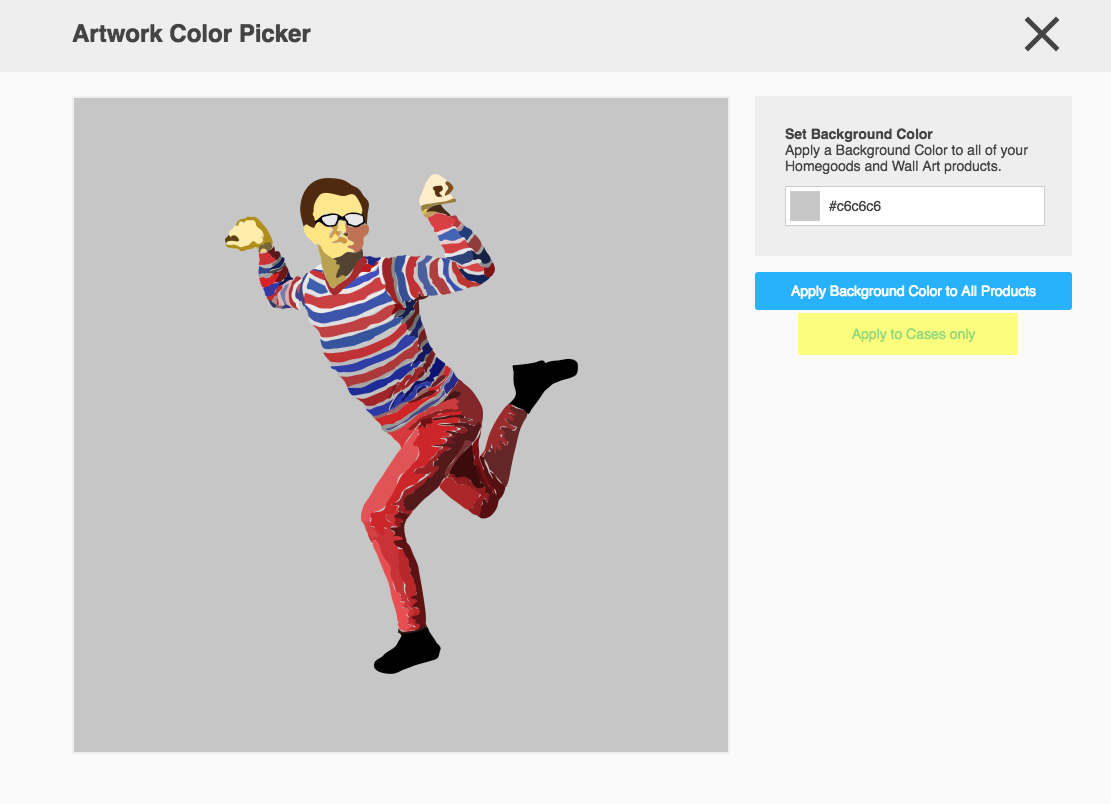
Eyedropper Tool (AKA Artwork Color Picker)
We now offer a way to select a color from your design and use it as a background fill on some or all of the products associated with that design. It works much like the eyedropper tool in Photoshop
Then, within the design, choose the color you'd like to set as your background, and then select whether you'd like that to apply that background to all products, or only certain ones.
Bulk Uploader Tool
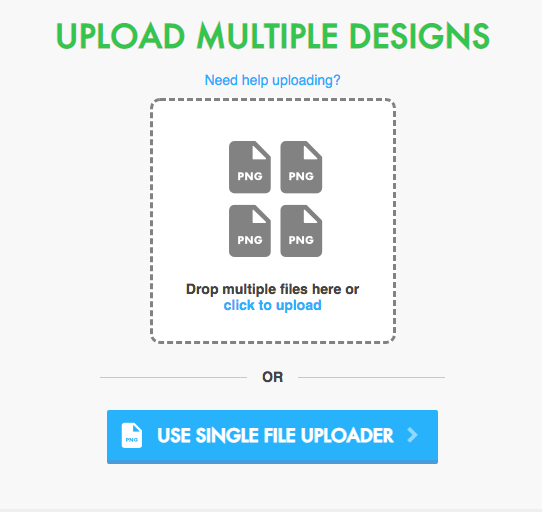
Our bulk uploader tool is a great way to add multiple designs to your profile quickly and efficiently! To access the bulk uploader, proceed to the regular uploader tool, and click the link that says “Use Multi-File Uploader!”
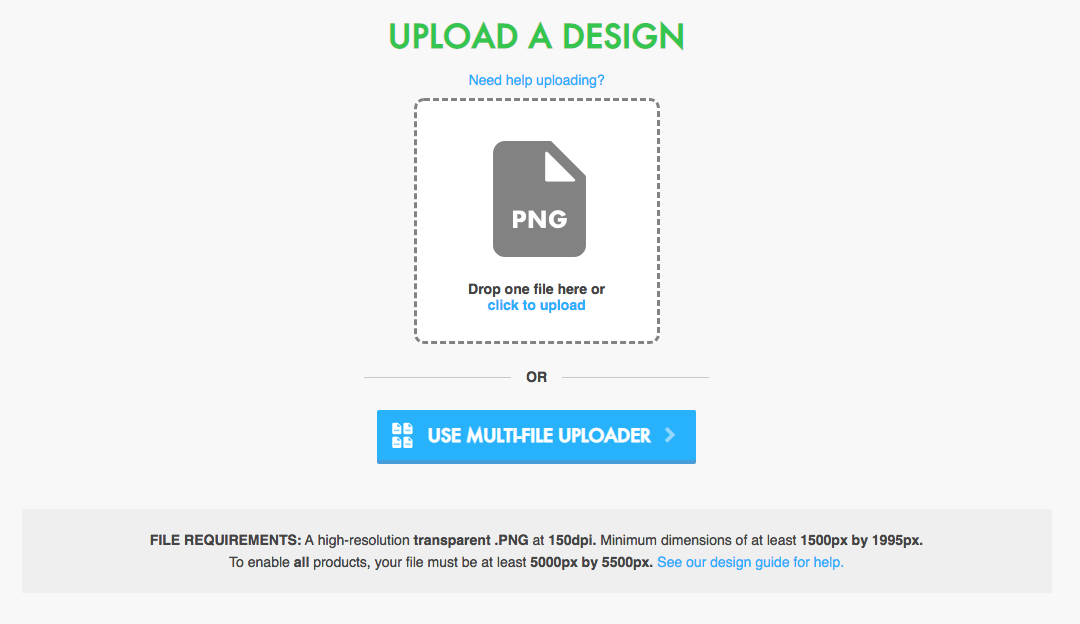
You’ll be prompted to drop your PNG files on the bulk uploader in the same way you would our normal uploader.
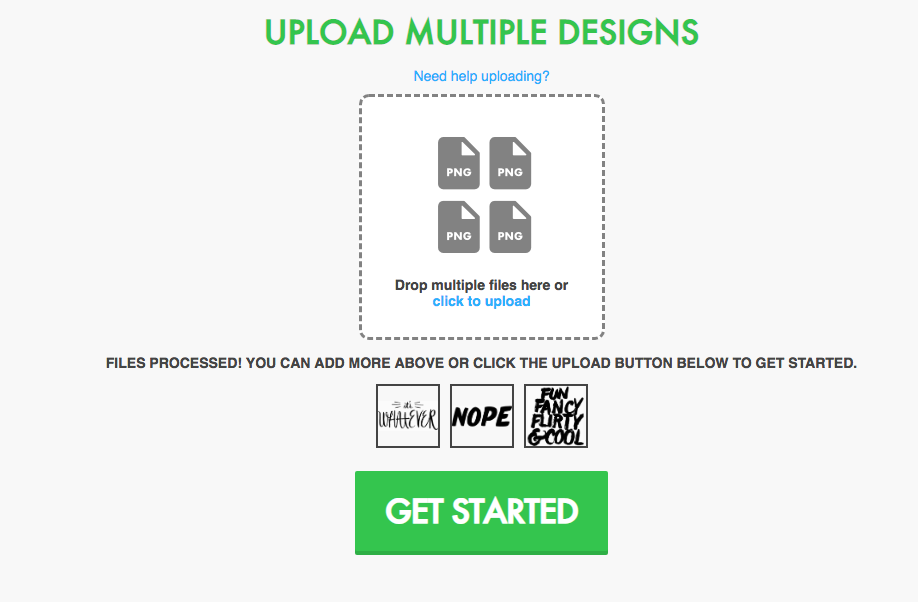
When your designs are processed and ready to begin the uploading process, they’ll appear as smaller tiles beneath the uploader. Click “get started” to begin editing your uploads:
At any point in the bulk uploader
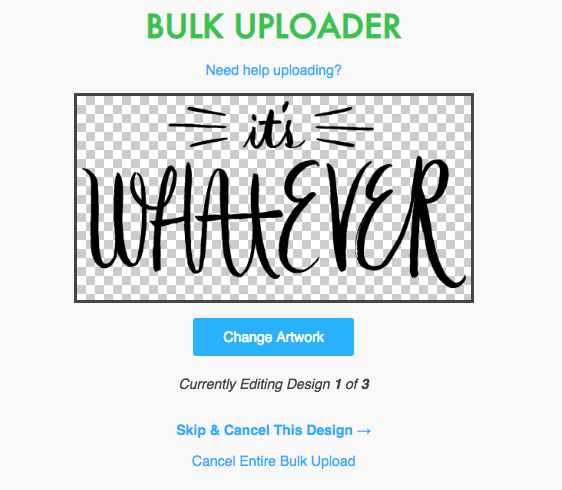
When you’re ready to move on to the next design in your bulk upload, click the “Next Design” button at the bottom of the page:

When you’re done editing all of the designs in your bulk upload, click the “Publish All” button at the bottom of the page to publish them to your profile:

--
We hope that you'll play around with all of the options we offer for your artwork and really make your art come to life on our products!


